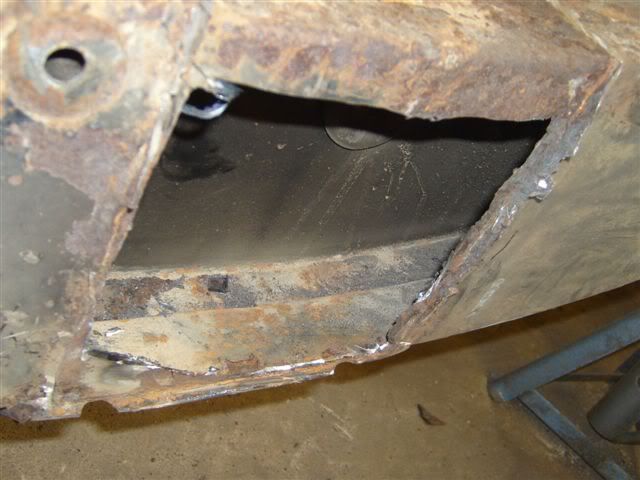
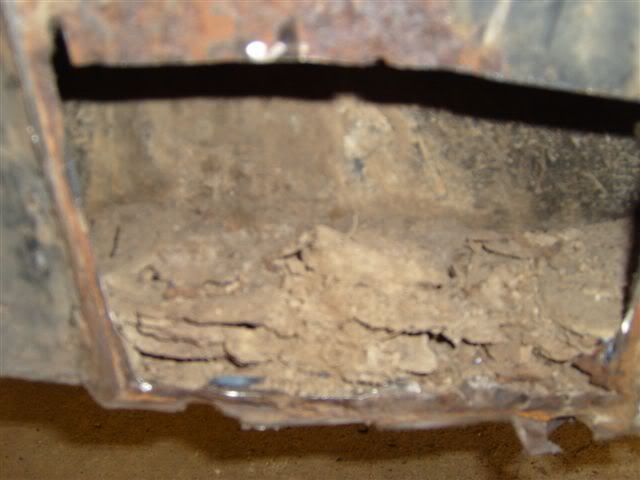
Lots of work to be done on getting the chassis rust-free. After removing the old outriggers, found giant rust holes lurking in the sides of the chassis. So these would need to be plated up. Also need to plate a hole behind the gearbox crossmember. Other than the rear crossmember, no other chassis repairs are required other than cleaning up the rust and painting.
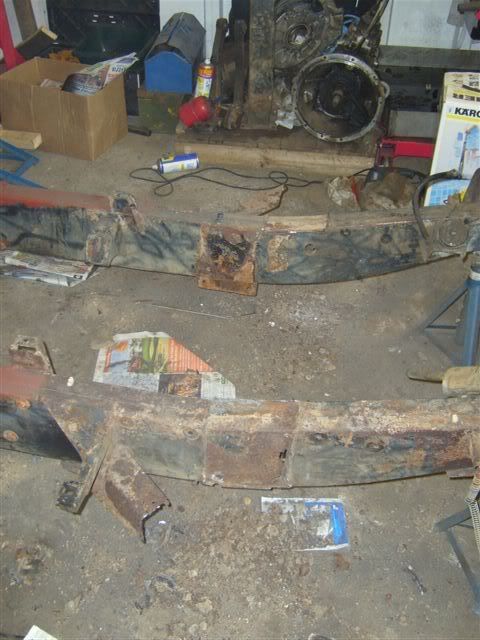
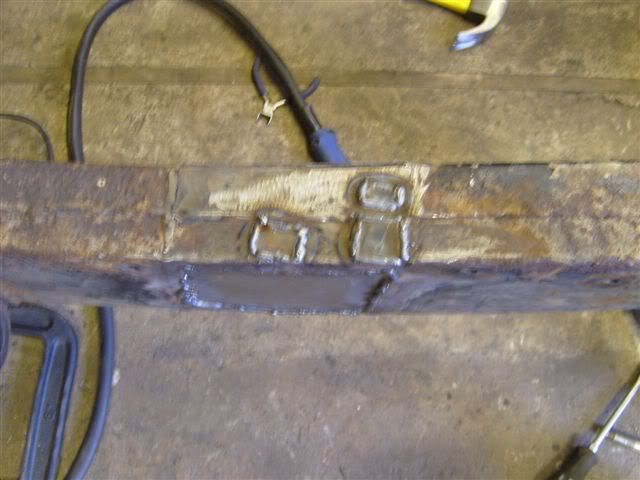
First job was to cut out the rot in the chassis. Then clean up what remained with the grinder.
Drivers Side:
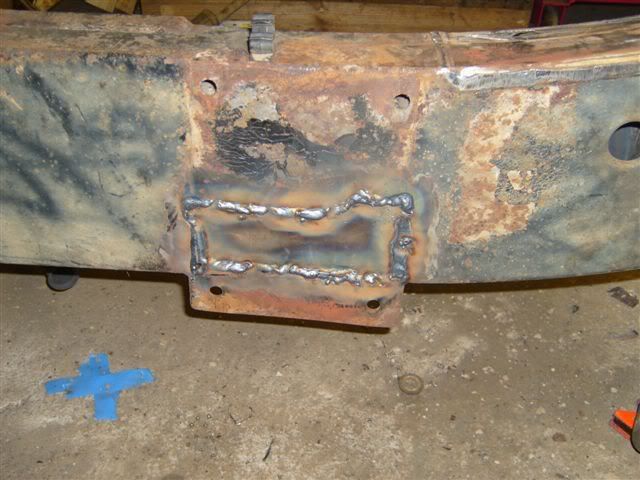
Passenger Side:
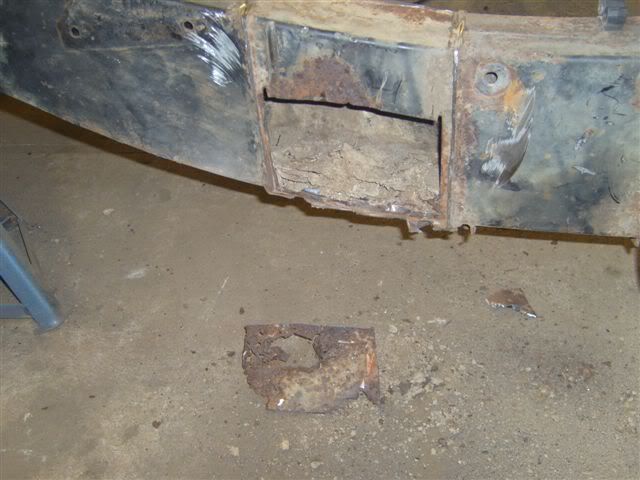
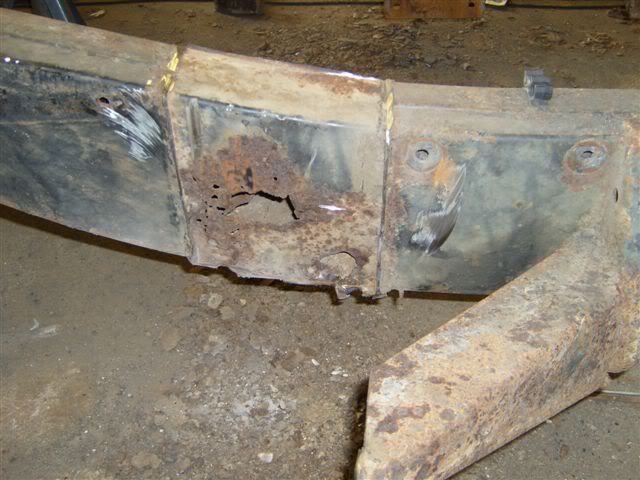
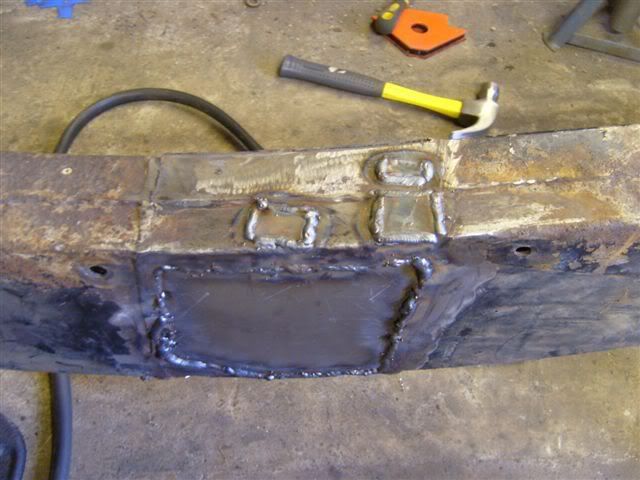
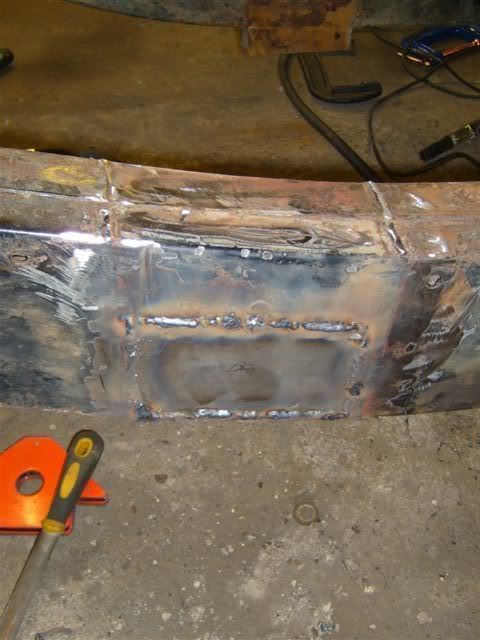
After cleaning up the area around the chassis to be welded, templates were made of the holes, and plates were cut out of 2mm mild steel sheet. Plates were then inserted inside the chassis, and welded up all round.
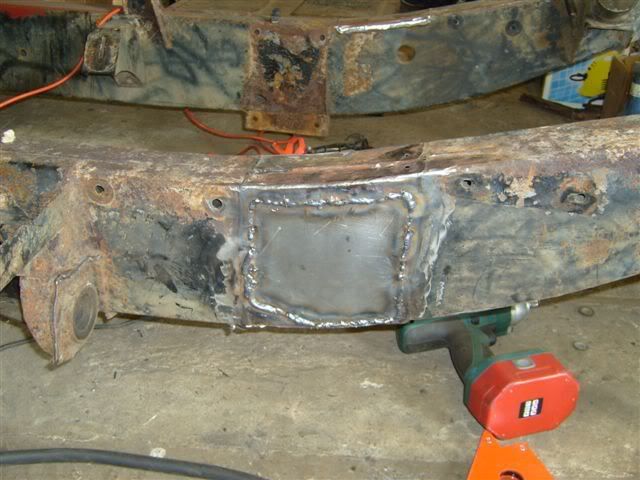
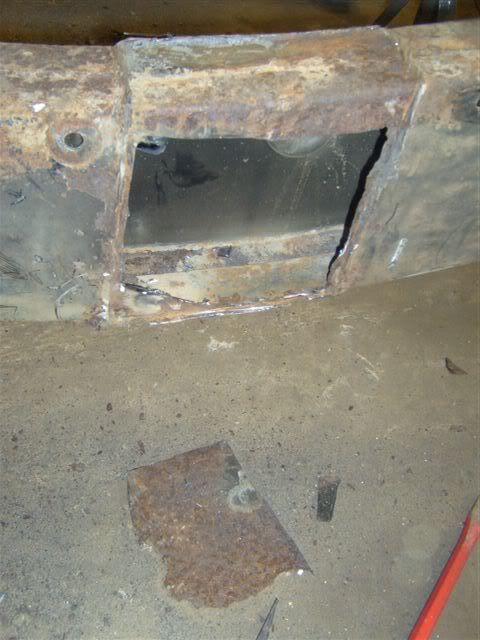
Did the same in the area behind the gearbox crossmember, and also a couple of small holes on top of the chassis, which was plated with 1mm steel.
Outriggers will finally be welded on when the bulkhead is ready to be test fitted. Next job though is getting the rear cross member welded on.